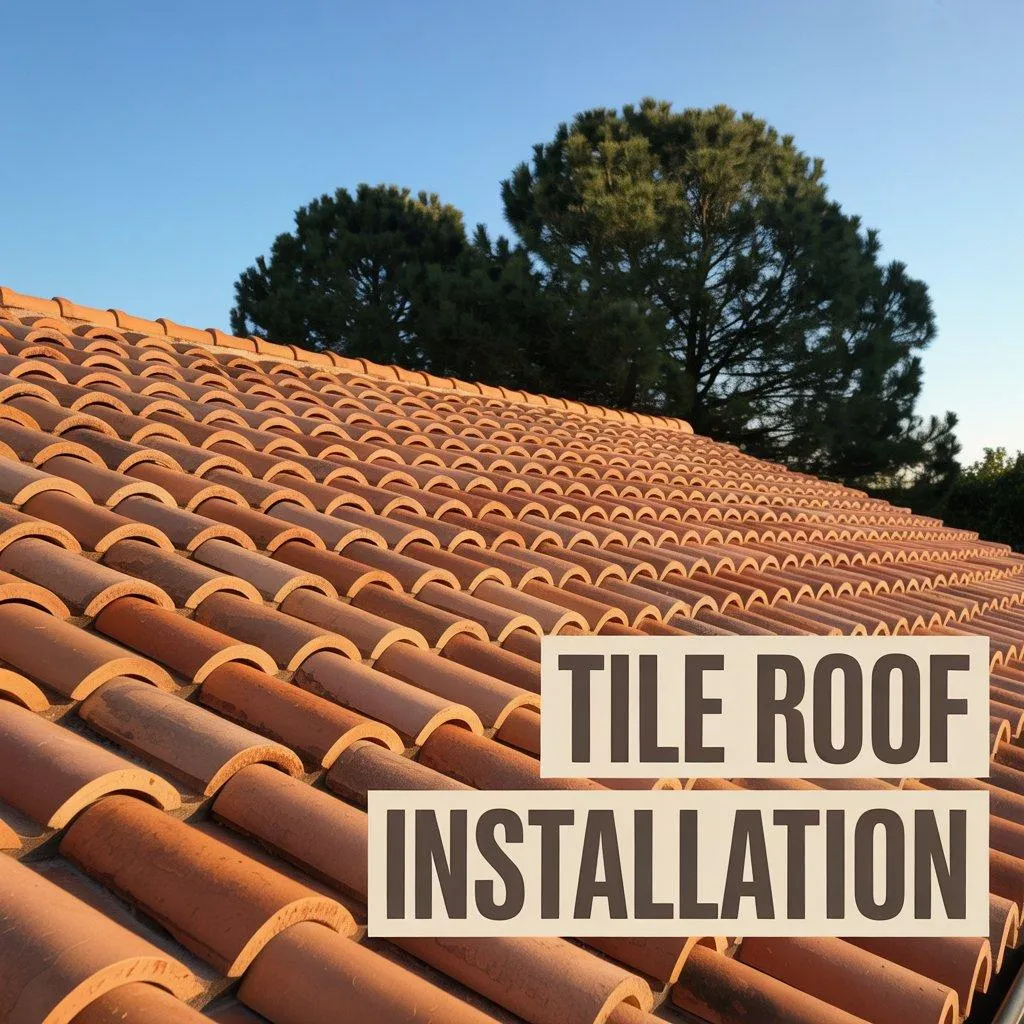
My First-Hand Guide to Installing a Tile Roof That Lasts a Lifetime
I’ll never forget the feeling of stripping off the last of my old, curling asphalt shingles. The roof looked bare, vulnerable, but full of potential. I was tired of patches and worried about every storm. I wanted something permanent, beautiful, and strong—a roof that would outlast me. For my home here in the Lowcountry, with its coastal winds and intense sun, clay tile was the only answer.
The project took weeks of sweat, meticulous planning, and a lot of heavy lifting. But standing back and looking at the finished product? It’s one of the most rewarding things I’ve ever built. If you’re considering a tile roof, here’s the real story—the nitty-gritty of how it’s done right.
🛠️ Step 1: It All Starts with the Bones: Prep & Structural Planning
This isn't just a step; it's the foundation for the entire project. A tile roof is incredibly heavy, weighing anywhere from 700 to over 2,000 pounds per square (a 10x10 foot area). For comparison, asphalt shingles are about 250-400 pounds. You're essentially parking a car on your roof.
• My Deck Inspection:
I walked every square foot of my roof deck (the plywood or OSB sheathing), looking for soft spots that indicate water damage or delamination. I used an awl to probe any suspect areas. I ended up replacing three full sheets of plywood that had gotten spongy around an old, improperly flashed vent pipe.
• Structural Reality Check:
This is crucial. I had an engineer friend confirm my home’s framing could handle the load. If you have any doubt, you must consult a structural engineer. They might require reinforcing the rafters or trusses. Don't skip this.
Gearing Up (Materials & Tools):
I laid out my full order: concrete tiles, two-ply synthetic underlayment, copper flashing (I wanted something that would last as long as the tile), corrosion-resistant fasteners, and wood battens. My bible for this was the Tile Roofing Industry (TRI) Alliance’s installation manual—I practically slept with it. On the tool front, a tile saw (wet saw), nail guns, tin snips, and high-quality safety gear were non-negotiable.
🚧 Step 2: The Point of No Return: Tear-Off & Site Protection
Stripping a roof is organized chaos. I started at the ridge and worked my way down, tossing the old shingles directly into a rented dumpster below.
My Pro-Tip: Rent a bigger dumpster than you think you need. Between old shingles, felt paper, and sheathing repairs, the debris adds up fast. I laid out heavy-duty tarps to protect the garden beds, the A/C unit, and the windows. Stray nails and grit can do a lot of damage.
🔍 Step 3: Creating the Real Water Barrier: Underlayment & Flashing
The tiles are your roof's armor, but the underlayment is the waterproof skin. This is where you win or lose the battle against leaks.
A Flawless Surface: With the deck bare, I re-nailed the sheathing to meet modern codes and ensure it was perfectly flat. Tiles don't bend; they crack. An uneven surface guarantees future problems.
Laying the Underlayment: I chose a high-quality synthetic underlayment, not traditional felt. It’s far more tear-resistant, safer to walk on, and can withstand UV rays for months if the project gets delayed. I overlapped each course by 6 inches on the sides and 3 inches at the top, securing it with cap nails to prevent any wind uplift. Around chimneys, skylights, and in valleys, I installed a self-adhering ice and water shield for an extra layer of defense.
📏 Step 4: Measure Twice, Tile Once: The Layout & Batten System
This is where the geometry comes in. A perfect layout is the difference between a professional-looking roof and a mess.
I installed a batten system—horizontal wood strips that the tiles hang on. This is a superior method because it creates an air gap between the tiles and the deck, which dramatically improves energy efficiency by allowing air to circulate and heat to escape.
I snapped chalk lines for every single course, starting from the eave and working up to the ridge. You have to account for the tile’s specific exposure (how much of it is visible). Getting this math wrong means your last course at the ridge will be a tiny, awkward-looking sliver.
🔩 Step 5: Laying the Field: From Eave to Ridge
Finally, the fun part. I loaded the tiles onto the roof in small, distributed stacks to avoid concentrating the weight in one spot. Then, working from the bottom up, right to left:
The first tile of each row was set on the chalk line.
Each tile was clipped or nailed to the batten.
I ensured a consistent headlap (the overlap of the tile above), which is critical for shedding water.
My Pro-Tip: Mix tiles from several different pallets as you work. Just like natural stone, there can be slight color variations from batch to batch. Mixing them gives the final roof a uniform, blended look.
⛏️ Step 6: The Devil's in the Details: Valleys, Edges & Penetrations
The large, open "fields" of the roof are easy. The edges, valleys, and spots where things stick out (vents, chimneys) are where craftsmanship counts. This is where 90% of all roof leaks occur.
Valleys: I laid open-metal valleys using 24-gauge pre-painted steel. Each tile that met the valley was precisely cut with my wet saw at the correct angle to create a clean channel for water to flow.
Flashing: Around the chimney, I installed a multi-part flashing system: apron flashing at the bottom, step flashing up the sides, and a cricket/saddle on the high side to divert water around it. Every penetration got this same meticulous treatment.
Sealing: I used a high-grade, tri-polymer sealant specifically designed for roofing at critical joints. Don't cheap out with generic silicone.
✅ Step 7: Capping It Off: Hips, Ridges & The Final Walk-Through
The hip and ridge tiles are the finishing touch. I used a modern ventilated ridge system that allows hot air to escape the attic, further reducing cooling costs. These final tiles were set in mortar and mechanically fastened to withstand high winds.
Before calling it done, I did a final walk-through. I checked for any cracked tiles (it happens), ensured all flashing was sealed tight, and gently tugged on tiles to check for any "chatter" or looseness.
💡 Was It Worth It? My Verdict on a Tile Roof
Absolutely. Here’s why I’d do it all over again:
Longevity: This roof will likely outlive the house itself. An asphalt roof might last 20-25 years; a tile roof can last over 100. Thinking I'll never have to do this job again is an incredible feeling. You can explore the pros and cons of different materials on our [roof types services page].
Unmatched Resilience: It’s fireproof, resistant to rot and insects, and can handle hurricane-force winds up to 150 mph when installed correctly.
Serious Energy Savings: The air gap created by the batten system acts as a thermal break. My summer cooling bills dropped by nearly 20% in the first year.
Curb Appeal & Value: The look is timeless. It transformed the entire aesthetic of my home. You can see the kind of transformation I’m talking about in our [gallery of past work].
🏗️ My Honest Advice: Should You DIY Your Tile Roof?
I have years of experience, the right tools, and a healthy respect for working at height. For me, this was a passion project. For most homeowners, it’s a job best left to seasoned professionals.
The risks are significant: the sheer weight, the technical skill required for flashing and layouts, and the danger of a fall. A small mistake can lead to a massive, costly leak down the road. Hiring a licensed, insured tile roofing specialist ensures the job is done safely, to code, and with a warranty.
If you’d rather skip the ladder and leave the heavy lifting to us, we’re here to help. Our teams at Artigues Roofing have been installing beautiful, durable tile roofs across the Lowcountry for years.
Want us to handle it? Contact us for a free consultation.
🔗 Authoritative Resources for the Curious Homeowner
Tile Roofing Industry Alliance: Concrete and Clay Tile Installation Manual (2024 Update)
The Spruce: An Overview of Tile Roof Lifespan and Pros & Cons
Final Thoughts
Installing my own tile roof was one of the most challenging and physically demanding projects I've ever tackled. But every time I pull into my driveway, I feel a deep sense of pride. It’s more than a roof—it’s a shield, a statement, and a permanent improvement to my home.
If you’re ready to upgrade to a roof that will last a lifetime, start with a professional inspection to see if it's right for your home.
For help choosing the perfect tile aesthetic for your home or to schedule a comprehensive quote, explore our dedicated tile roofing services here.